playing around with contrast: inside a fine art photographic technique

contrast adjustments…

This short journal post is from a presentation I gave in spring 2019 where I discussed how adjusting your contrast can be an interesting way of shooting different subjects and landscapes. This process helps to darken (underexpose) or lighten (overexpose) a scene that I have found can help to add new conceptual meaning to whatever is being photographed.

Ultimately, this is something that can easily be done in camera. Just play around with increasing or decreasing your shutter speed or aperture (f-stop) to create photographs that are purposely under or over exposed. Alternatively, you can shoot a perfectly exposed photo in camera and then fiddle with the contrast in Photoshop, as I did with this photo, titled wal-art 3, of an aisle in Walmart I took in August 2012 and then overexposed it (to make it look brighter than it should) using Photoshop…

wal-art 3

To be completely honest, I had not originally planned to overexpose the images. I only did it after finding out that for some reason, the focus was soft across my images. By overexposing them, you didn’t notice that and it also added a whole other depth to how the content of the photo was presented.

Artist & photographer Paul Graham has also overexposed some of his photographs, as he did with his American Night series of photographs, like this one, American Night #16, from 2000…

wal-art 3

Graham overexposes his photos so much that they at times almost appear ghostly white, with very little of the photo’s original colour left behind. Graham’s American Night photographs formed part of a series of photographs he shot using this technique (as was my wal-art shot, it too is part of a on-going series).

Doing it in camera can be a bit risky as you are ultimately stuck with what you get. If you are at a location you might not be able to return to, it might be better to shoot a perfectly exposed image and then play with it later in Photoshop. Or, if you have time, take a perfectly exposed shot and then take a few shots where you experiment in camera.

making contrast adjustment in photoshop…

If you really want to over or underexpose in Photoshop, here’s where to look:

IMAGE > ADJUSTMENTS > BRIGHTNESS / CONTRAST

This provides a good start, but sometimes it’s not enough so go to the next option…

IMAGE > ADJUSTMENTS > EXPOSURE

Then adjust ‘exposure,’ and possibly adjust ‘gamma correction’ if needed.

Finally, you can also adjust your LEVELS or CURVES (also found in the IMAGE > ADJUSTMENTS drop-down menu). In LEVELS, you can play with the INPUT and OUTPUT LEVELS; and in curves you can adjust, well the curves (Cross Process can be fun too).

More Inspiration…

Unlike other alternative photographic process topics I’ve been exploring, there aren’t many YouTube videos on this specific topic, but I did find one…

This next video gives some solid tips for creating soft and airy photographs by experimenting with some of the ideas talked about here, but also by exploring other elements from lens choice to other camera settings which allow the backgrounds to appear under or over exposed while keeping the main subjects nicely exposed and in focus…

playing with motion blur: inside an alternative photographic process

I learned about this technique first from photographer Eddie Soloway, and then from Kwantlen Polytechnic University professor, Dr. Ross Laird, who learned it from photographer Diego Samper. This journal post is based on a presentation I developed about it in 2019.

While many good photos will be free of motion blur, this is another area where you can break the rules, especially if you want something that looks abstract. It’s not a regular motion blur you might have learned about in an intro photo class – where you might see a photo of a car speeding by and the background is blurred, or cars speeding across the frame appearing like streaks, with their surroundings in sharp focus. Rather, the entire frame becomes blurred to various degrees to create an abstracted image.

How to accomplish this is simple:

  •  Set your camera’s shutter speed so that it’s open longer (for a second, or seconds, or even longer by using the bulb setting). By doing this you are slowing down the shutter speed, which is the amount of time a camera’s shutter is open to allow light to fall onto the camera’s sensor. The longer the shutter is open, the higher the chance you can end up with motion blur.

  • Then, as you click to take your shot, introduce movement by physically moving your camera by panning up and down or left to right.

Eddie Soloway’s work has an almost impressionistic or fauvist quality in how he uses the technique to capture the essence of the scene he’s shooting – creating a dreamlike world that emphasizes both the light and colour that can be found in nature as seen in Pine Trees Blurred - Wisconsin (2019) and New England Autumn

eddie soloway - motion blur...

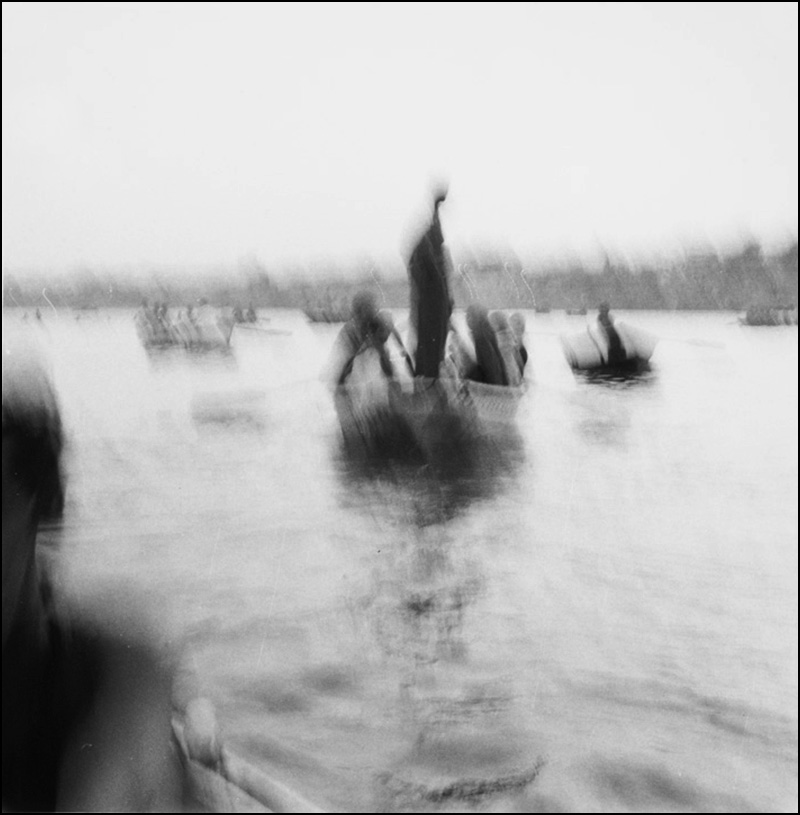
Samper introduces another concept to the equation by not paying attention to the viewfinder. He’ll raise the camera high above his head, pointing down towards a scene, or hold it arms length from his body, to create different points of view. When he does this, he also isn’t afraid to keep things on bulb and he varies how long he exposes the photo for. Laird described this as being a challenging as it does create a lot of photos that are totally blown out. But every now and then Laird said you get a gem, like this one by Samper…

diego samper - motion blur...

Samper also shoots people and man-made objects using this technique, which introduces elements and ideas that are quite different from Soloway. I think Samper converted the photo to black & white in Photoshop (although he may have even shot it in camera - either digitally or on film, I’m not sure), although as shown in this gallery, he does produce a lot of similar photographs using this technique in colour.

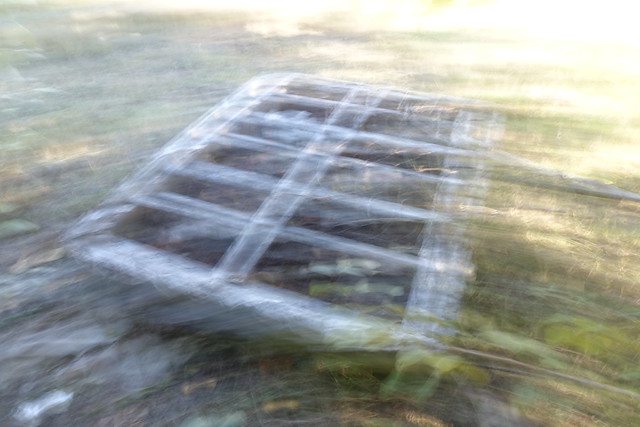
 Finally, here is my attempt at this technique…

an abandoned box spring...

More Inspiration…

Chin, Jimmy. Tips for Capturing Motion Blur Photography. MasterClass, August 2018.

Rowse, Darren. How to Capture Motion Blur in Photography. Digital Photography School, January 2014.


shooting 'through': the art of the found filter...

In photography, a fun challenge can be to look for things you can “shoot through,” things that are a kind of found filter, one that already exists in nature. This journal entry, which is based on a presentation I first did in February 2019, will explore a number of different filters you can use as a starting point for thinking about this idea.

Read More

KWANTLEN - On a definition of 'comedy'...

I want to know more about how to be funny. I want to scratch the surface of what defines comedy at its most basic level. And I hope to do that by summarizing and presenting different quotes and ideas from various books, interviews and online resources that I’ve recently come across while thinking about what comedy really is.

Read More

KWANTLEN - Writing Funny!

I’ve signed on for a creative writing course at Kwantlen Polytechnic University on “Writing Funny!” that starts in January 2019, and I’m at best, both excited and terrified about it. I’ve always loved to laugh, joke around and overall in life, I generally try not to take things too seriously. As such, over the next few months, I hope to post a number of journal entries about my exploration of trying to write funny. With this first post, I want to briefly define the term “humour” and explore what humour from different forms of media have influenced myself over the years.

Read More